
Some water heater issues can be fixed, but if yours is old, it might be time for a replacement. While water heaters can last up to twenty years, most only go for about 10. It’s important to know what you’re getting on how to install an electric tankless water heater.
Preparation is key for any DIY project. Without the right tools and understanding, you’re likely to run into problems.
It’s crucial to switch off the circuit breakers before you start. This ensures no electric cables are live while you work.
Also, turn off the water supply unless you want to flood parts of your house when you replace your old water heater. Remember, flooding can cause thousands of dollars in damage. That’s why the first step is so important.
You’ll need to drain your tank-type heater before removing it. Grab a hose and maybe a bucket. Check our guide for draining a water heater for more details.
Before you can remove the old wiring and wall mounting brackets, unscrew the connecting pipes. Make sure not to damage them or the wiring. If they get damaged, you’ll have to replace them completely, which increases the cost and time of the project.
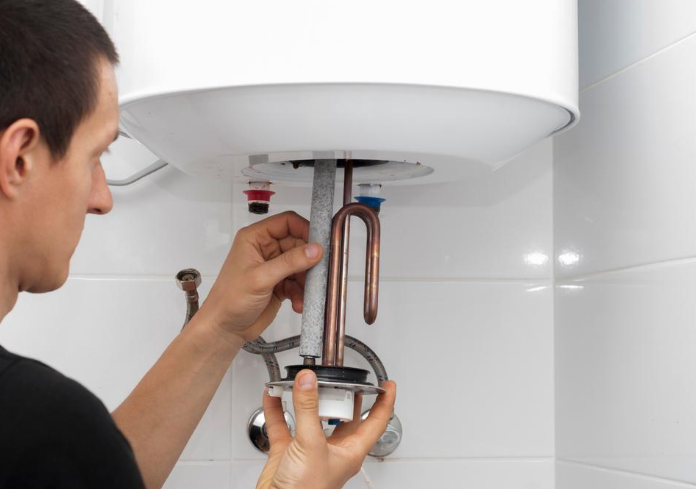
Before installing the tankless unit, carefully remove its front cover using a screwdriver. Keep the screws in a safe place so you won’t lose them. Make sure to use all the screws for proper functioning of the heater.
Be cautious as there may be cables attached between the cover and the unit. Before completely removing the cover, unplug all cables.
Next, mount the unit on a wall, ensuring it’s not in a cluttered area. It’s crucial to have easy access to the water heater in case of emergencies.
Use the included mount and screws for the installation. Follow the instructions that came with your water heater.
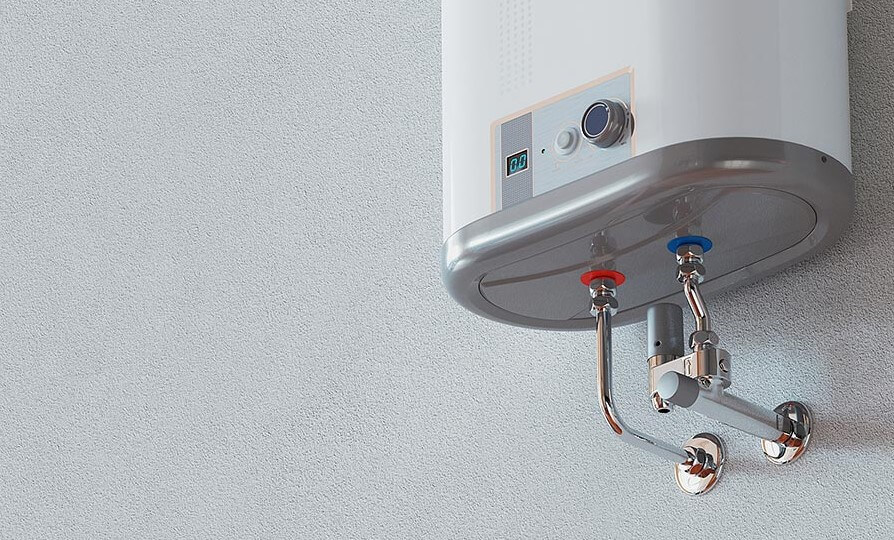
Once the device is installed, connect the pipes to distribute hot water in your home. These connections are used to enter and exit your water heater and are usually located at the bottom of the unit. If you have an installation guide, use it to locate these connections.
Stainless steel is the best material for tankless heaters. It’s durable, flexible, and can withstand high temperatures. Copper and PVC pipes are acceptable alternatives if you don’t have stainless steel pipes. Opting for flexible stainless steel pipes makes it easier to remove connections for cleaning, which is often recommended in instruction manuals.
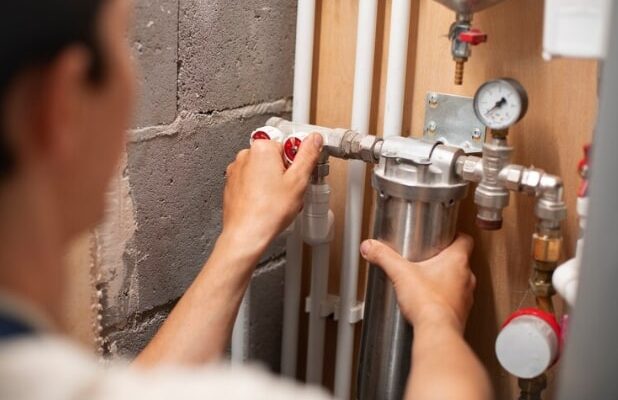
After making the connections, install the flow and pressure valves. Flow valve installation is straightforward. It allows you to shut off water flow to the heater for repairs without turning off water to your entire house.
Only if required by local plumbing authorities, install pressure valves. Place the pressure release valve on the “hot-water” side of your electric water heater. For extra safety, consider installing another pressure release valve on the opposite side of the electric water heater.
Now that the water heater is fully connected and installed, you’ll need to bleed the system before using hot water. Open all the hot water outlets in your house to remove any air. After a few moments, close the outlets.
Make sure to inspect your water heater’s electrical connections for safety. Check that they are properly wired and positioned on the correct terminals. Reattach the cover using all its screws. Once the cover is back on the unit, the installation is nearly complete.
You can safely turn on the circuit breaker now that you’re done working on the heater.
After turning on the water heater, it’s time to set the temperature. To avoid burns, it’s best not to use the highest setting. Test every hot water outlet in your house, including faucets, showers, and dishwashers. If the water is too warm, you may need to lower the temperature.
Thank you for choosing Clog Kings LLC guide for installing your electric tankless heating system. We hope you found it helpful. If you need further information or assistance, please don’t hesitate to contact us at 727-232-4869.