
When Your Toilet Handle Breaks: What to Do First
Broken toilet handle repair is something most Florida homeowners can handle themselves in under an hour, for less than $50 in parts.
Here’s a quick overview of how to fix it:
- Diagnose the problem – Open the tank lid and look for a loose nut, stripped threads, broken arm, or disconnected chain
- Get the right replacement handle – Match your toilet’s mounting position (front, side, or universal)
- Turn off the water supply at the shut-off valve behind the toilet
- Remove the old handle – Turn the mounting nut clockwise to loosen (it’s reverse-threaded)
- Install the new handle – Hand-tighten the nut counter-clockwise first, then snug with a wrench
- Reconnect the lift chain to the same hole and test flush several times
A broken toilet handle is easy to ignore – until it isn’t. A handle that sticks down, falls off, or won’t lift the flapper properly can waste up to 200 gallons of water per day, driving up your utility bills fast. The good news? This is one of the most beginner-friendly plumbing repairs there is.
I’m Joey Denick, and with over 20 years of hands-on plumbing experience, I’ve seen broken toilet handle repair cause far bigger headaches than it ever needs to. In this guide, I’ll walk you through everything you need to fix it right the first time.

Diagnosing Your Broken Toilet Handle Repair Needs
Before you run to the hardware store in Tampa or St. Petersburg, you need to know exactly what failed. Not every “broken” handle actually needs to be replaced. Sometimes, it’s just a ten-second adjustment.
Lift the heavy porcelain lid off your tank—carefully!—and set it aside on a thick towel so it doesn’t scratch your floor or crack. Now, look inside and push the handle. What do you see?

The Loose Nut
If the handle wiggles and feels “mushy,” the mounting nut inside the tank might have just vibrated loose over time. This is common in busy households in Pasco and Pinellas counties. If the nut is simply loose, you can often tighten it by hand. Just remember: these nuts are usually reverse-threaded (more on that later!).
Stripped Threads
Most modern toilet handles are made of plastic. Over years of use, the threads on the handle shank or the nut itself can strip. If you try to tighten the nut and it just spins and spins, you’re dealing with stripped threads. You can try a temporary fix with Plumber’s tape to add some grip, but ultimately, a full replacement is the only permanent solution.
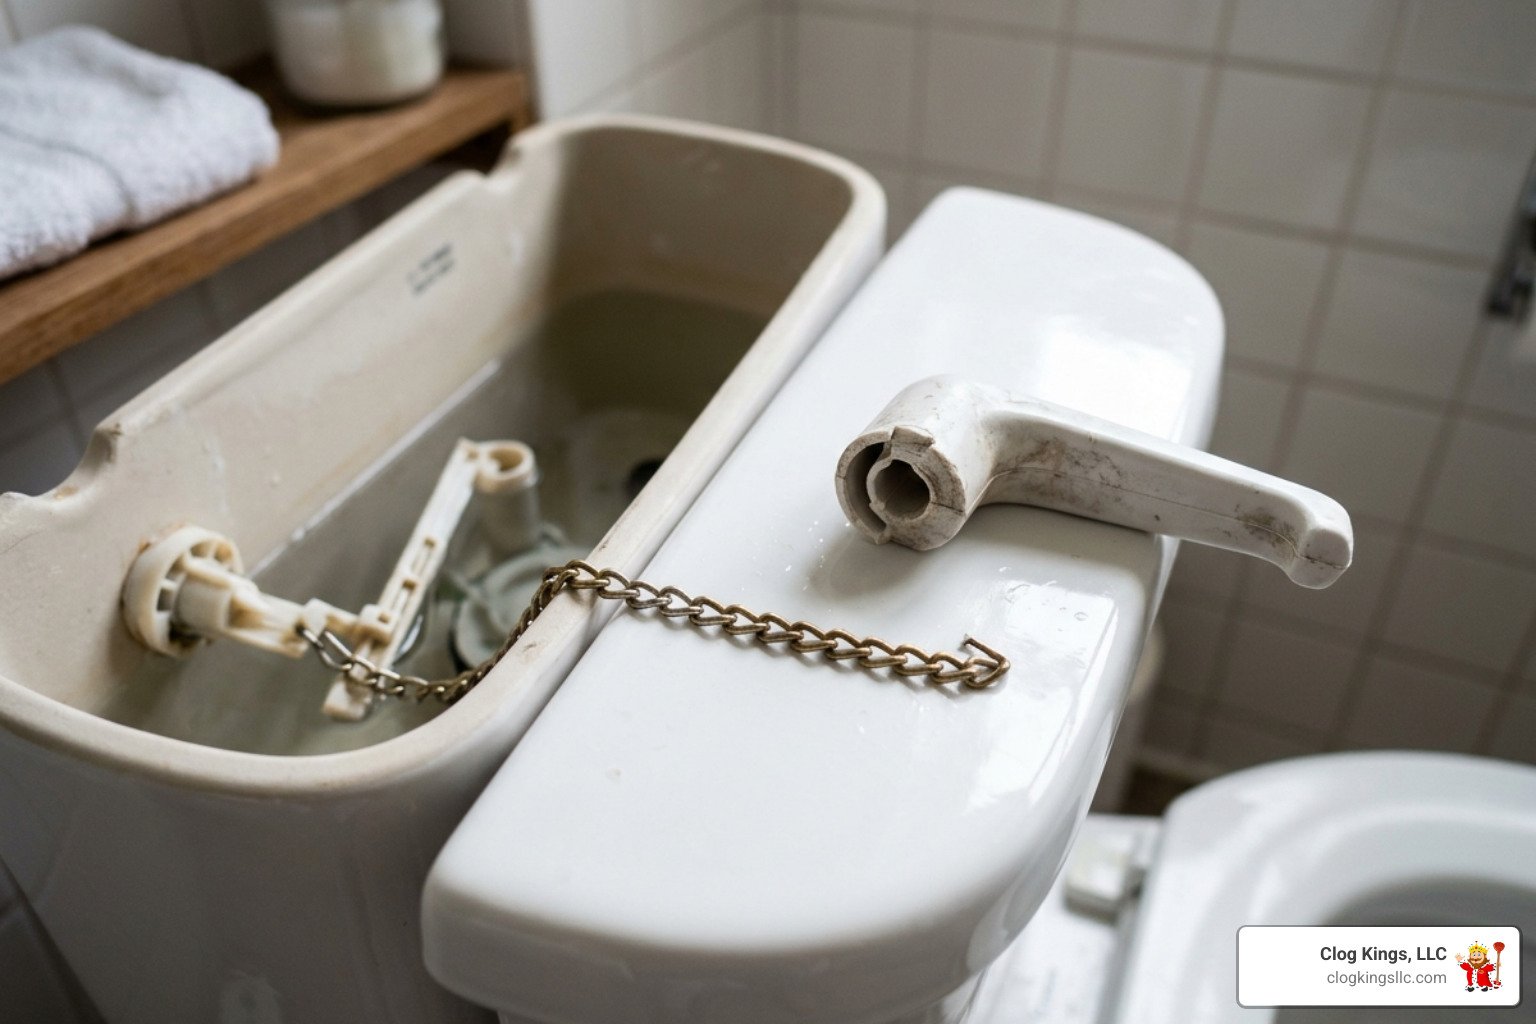
The Broken Arm (Trip Lever)
The “arm” is the long metal or plastic rod that extends into the tank. If this rod has snapped or is severely corroded, the handle will move, but nothing happens inside the tank. This is a classic broken toilet handle repair scenario that requires a new assembly.
The Disconnected or Broken Chain
Sometimes the handle is fine, but the “lift chain” connecting the arm to the rubber flapper has fallen off or snapped. If the chain is just disconnected, you can hook it back on. If it’s rusted through, you’ll need a new stainless steel chain.
Ignoring these small issues can lead to bigger problems. As we explain in our post about why you shouldn’t ignore a running toilet, a handle that sticks can keep the flapper open, causing your water bill to skyrocket. For a deeper dive into these mechanics, check out How to Fix a Toilet Handle for professional troubleshooting tips.
Tools and Materials for a Successful Fix
You don’t need a massive toolbox for this job. In fact, most of these items are probably sitting in your garage in Hillsborough County right now.
Recommended Tools:
- Water pump pliers or an adjustable wrench: For loosening that stubborn mounting nut.
- Needle nose pliers: These are perfect for manipulating the small clips on the lift chain.
- Plumber’s tape: Useful for securing threads that are starting to wear.
- Old Towels: To dry off the tank lid and catch any drips.
Choosing Your Replacement Handle
Not all handles are created equal. Before buying, identify where your handle sits on the tank.
| Handle Type | Mounting Location | Common Characteristics |
|---|---|---|
| Front-Mount | Front left or right corner | Most common; straight or slightly curved rod. |
| Side-Mount | Left or right side panel | Requires a rod with a 90-degree bend to reach the flapper. |
| Universal | Variable | Designed with adjustable arms to fit most modern tanks. |
If you have a side-mount toilet, you might find it a bit harder to track down the exact part at a local shop. A solid choice is the NCWIND 2 Pack Toilet Flush Lever Handle, which is a universal side-mount lever that works well for many brands.
How to Perform a Broken Toilet Handle Repair
Ready to get to work? Follow these steps to swap out that old lever for a shiny new one.
Step 1: Preparation
First, shut off the water. Look for the silver valve on the wall behind the toilet and turn it clockwise until it stops. Flush the toilet to empty the tank. This makes it much easier to see the chain and the mounting nut without splashing around in the water.
Step 2: Disconnect the Chain
Note which hole the chain is currently hooked into on the old lever arm. This is crucial! Using your Needle nose pliers, unhook the clip. Let the chain drop gently onto the flapper.
Step 3: The “Reverse Thread” Secret
This is where most DIYers get frustrated. Toilet handle mounting nuts are reverse-threaded. This means “lefty-loosey” does not apply here.
- To loosen the nut, you must turn it clockwise (toward the back of the tank).
- If the nut is stuck due to mineral buildup, don’t force it—you might crack the porcelain. Apply a little lubricant or WD-40 and wait a few minutes.
Step 4: Remove and Clean
Once the nut is off, slide the old handle and arm out through the hole in the tank. Take a moment to wipe down the area around the hole with a damp cloth. Removing old gunk ensures the new handle seats properly and won’t wiggle.
Step 5: Install the New Handle
Slide the new handle through the hole. From the inside, slide the washer and the nut onto the arm. Remember the reverse-thread rule: turn the nut counter-clockwise to tighten it. Hand-tighten it first, then give it a tiny snug with your pliers. Do not overtighten!
For more on the risks of a faulty flush system, read about how a running toilet becomes a big plumbing problem.
Steps for a Side-Mount Broken Toilet Handle Repair
Side-mount handles are a little different. They often use a “keyed” fit, meaning the handle and the arm have a specific groove that must line up perfectly.
- Alignment: Ensure the 90-degree rod is pointing toward the center of the tank so it aligns with the flapper.
- Friction Connection: Some side-mounts rely on a friction fit. If the handle feels loose, ensure the “key” is fully seated in the housing.
- Clearance: Make sure the arm doesn’t hit the side of the tank or the fill valve when it moves up and down.
For a visual walkthrough, the Toilet Handle Replacement – iFixit Repair Guide is an excellent resource.
Final Testing After Your Broken Toilet Handle Repair
Now, hook the chain back onto the new arm.
- Check the Slack: There should be about 1/2 inch of slack in the chain. If it’s too tight, the flapper won’t close, and the toilet will run. If it’s too loose, the handle won’t lift the flapper high enough for a full flush.
- The Flush Test: Turn the water back on, let the tank fill, and flush. Watch the flapper. Does it lift fully? Does it drop back down and seal tightly?
If the toilet continues to hiss after the tank is full, you might have a chain tension issue. Check out our guide: Got a running toilet? Heres why you shouldnt ignore it.
Pro Tips to Avoid Porcelain Damage and Future Issues
We’ve seen plenty of “easy” repairs turn into expensive disasters because of a few common mistakes. Here is how to keep your tank safe:
- Hand-Tighten First: Always start the nut by hand. If you cross-thread the plastic, you’ll have to buy another handle.
- The “Snug” Rule: Porcelain is fragile. You only need the nut to be snug enough that the handle doesn’t move. Cracking the tank means you’ll be calling us for a full toilet replacement!
- Check the O-Ring: Ensure the rubber washer or O-ring is on the outside of the tank or as specified by the manufacturer to prevent leaks from the handle hole.
- Prevent Corrosion: If you have hard water in Pinellas or Manatee County, consider a handle with a plastic or stainless steel rod rather than cheap plated metal, which will rust and snap within a few years.
- Clean Your Tank: Every few months, check the tank for sediment. Clean water keeps the moving parts of your handle and flapper working longer.
For more preventative advice, see how Hillsborough County homeowners can avoid costly toilet repairs.
Frequently Asked Questions about Broken Toilet Handle Repair
Can I repair an existing handle with glue or epoxy?
While some DIY forums suggest using T-88 epoxy or Gorilla Glue to fix a snapped plastic arm, we generally don’t recommend it. Even with surface roughening, the constant tension of flushing usually causes the bond to fail within a few weeks or months. Given that a new handle costs less than a tube of high-end epoxy, broken toilet handle repair is best solved by a total replacement.
How much does it cost to replace a toilet handle?
If you do it yourself, you’re looking at under $50. Most universal handles at local hardware stores in Tampa or St. Pete cost between $10 and $25. If you hire a professional, you’ll pay for the part plus a service fee, but you get the peace of mind that the chain is perfectly adjusted and there are no hidden leaks.
When should I call a professional plumber?
You should put down the wrench and call Clog Kings, LLC if:
- You notice a crack in the porcelain tank.
- The mounting nut is rusted solid and won’t budge.
- You’ve replaced the handle, but the toilet still runs or won’t flush correctly.
- The water shut-off valve is leaking or won’t turn.
For more reasons to opt for an expert, read our 4 reasons you should hire a plumber for toilet repairs.
Conclusion
A broken toilet handle repair might seem like a small task, but getting it right saves you from the headache of a “phantom flusher” or a sky-high water bill. Whether you are in Pasco, Pinellas, Manatee, or Hillsborough County, most of these fixes are well within your reach.
However, we know that life gets busy, and sometimes plumbing “surprises” are more than you want to handle on a Saturday morning. If you’re struggling with a stubborn handle or any other bathroom issue, Clog Kings, LLC is here for you. We offer 24/7 local service across the entire Tampa Bay area.
Don’t let a tiny handle become a big problem. If you need a hand, visit our toilet-repair/ page or give us a call today!